When we bought our house, I had grand visions for the basement. I was pregnant with Reed at the time and could see it as a perfect space to have as a playroom. So when I found out last spring that we’d be bringing another Haywood boy into the world, I knew we needed to fast track that before the baby was born in January.
Basements in Chicago with a nearly 100 year old foundation are tricky. The risk of taking on water is a pretty consistent concern even if you have weatherproofing, things properly sealed, everything up to snuff. Our basement took on water the first spring we were in our house due to a clogged water main. It’s not something I EVER want to repeat. I will never forget coming down to put laundry in first thing in the morning with a newborn Reed upstairs while we had the first “100 year rain” that year. I definitely won’t forget Mike in rain boots using our shop vac and buckets to bail out the water shooting up every drain in the basement when they opened up the main to release the pressure. Or the hazmat suited needed for clean up after all of that was squared away. Needless to say, I wanted to create a space where even if there was a water issue, it would be easily contained and would minimize the issues of replacing flooring.

The previous owners had wall to wall carpeting. Thankfully, we pulled that up in the fall of 2016 before the basement took on water!
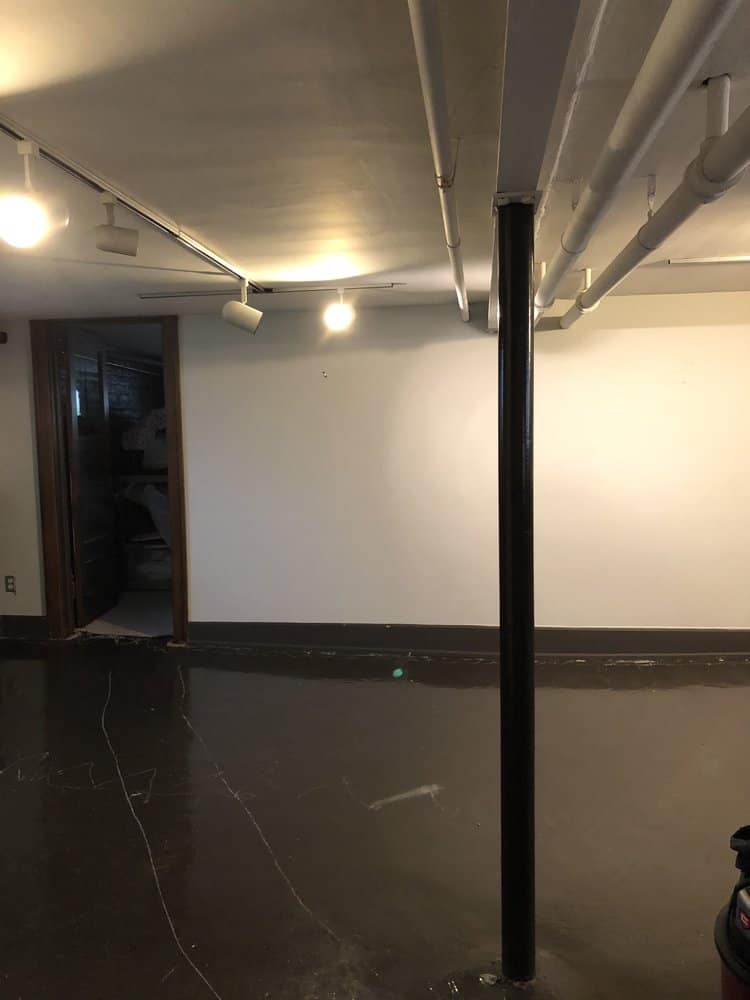
We mostly used this open area to stack and store baby gear we had cycled through.
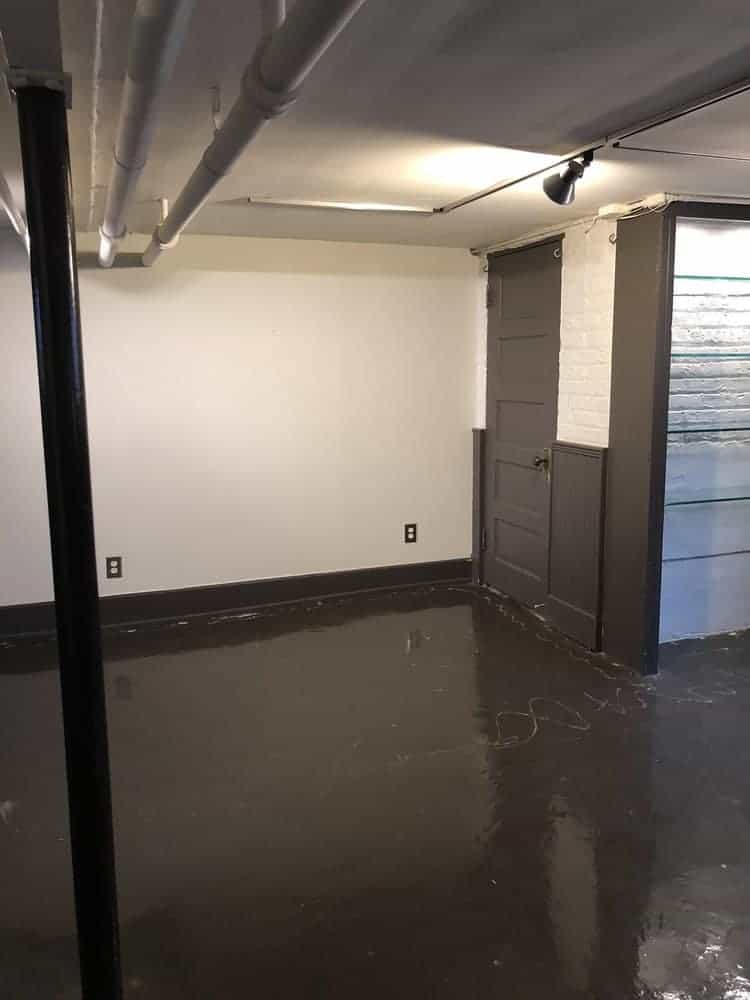
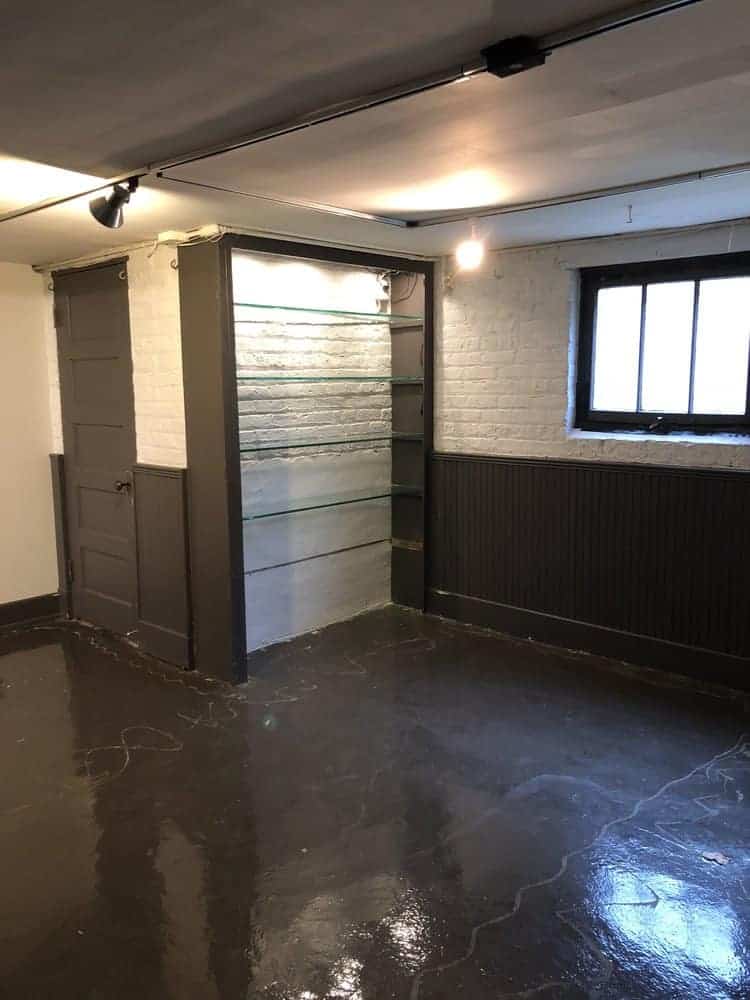
Can’t you just see a play kitchen tucked into that nook where the shelving is?:)
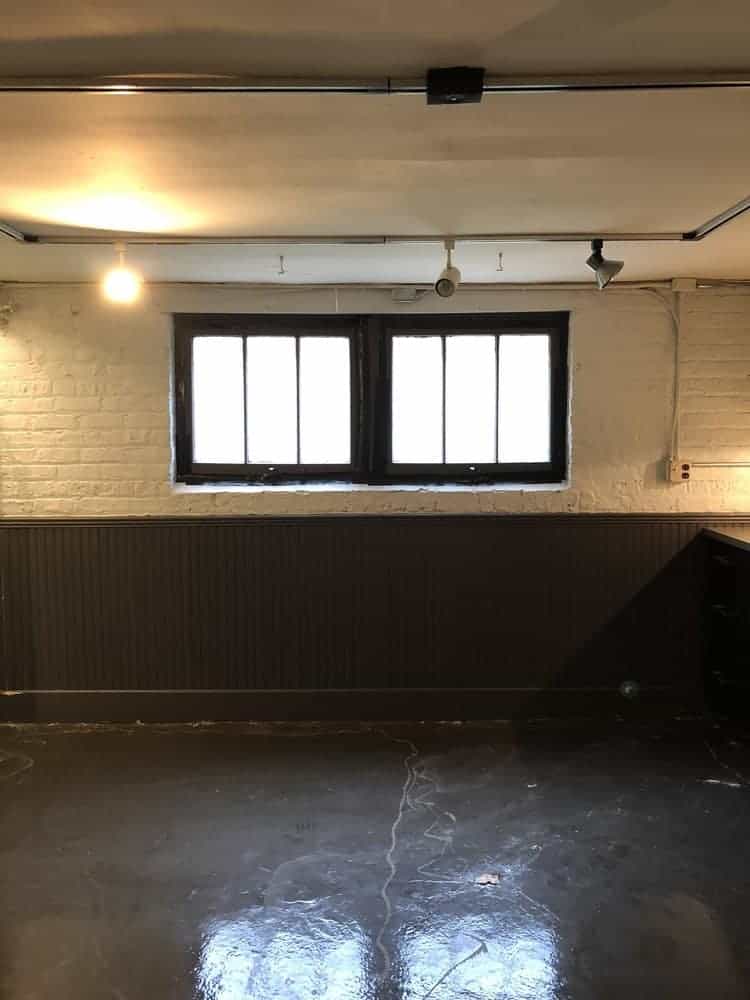
And that’s where the design plan started—with an epoxy floor. This was a process. It was really neat to watch and to know that we were sealing the floor from moisture as well as creating a surface that would be easy to clean and would never mold.
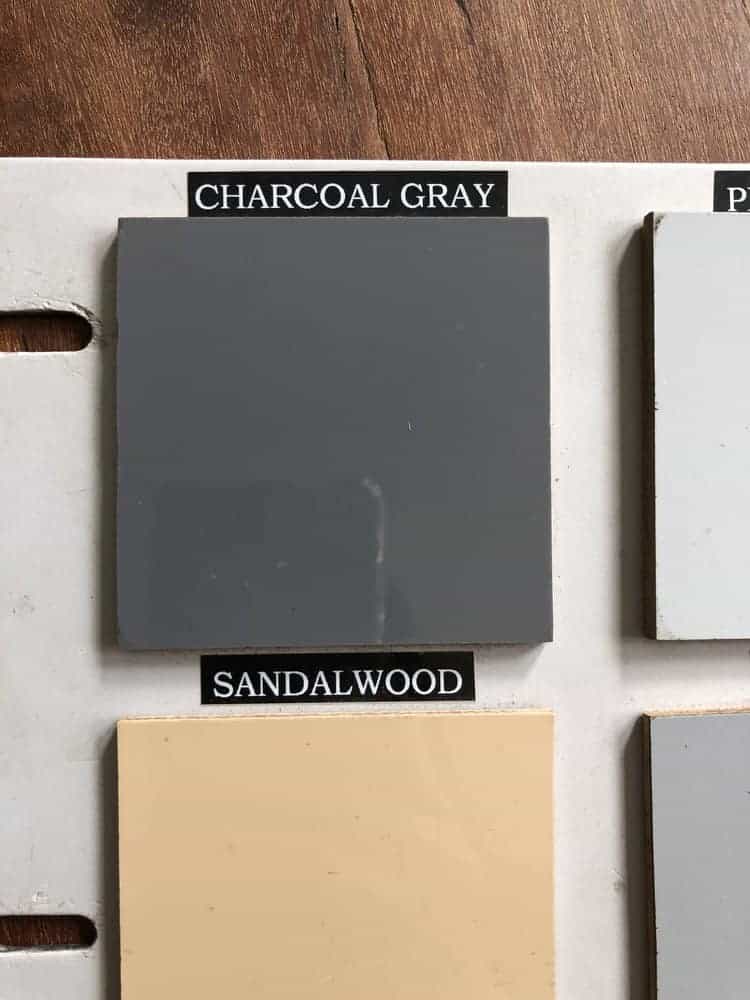
Charcoal gray was the winner!
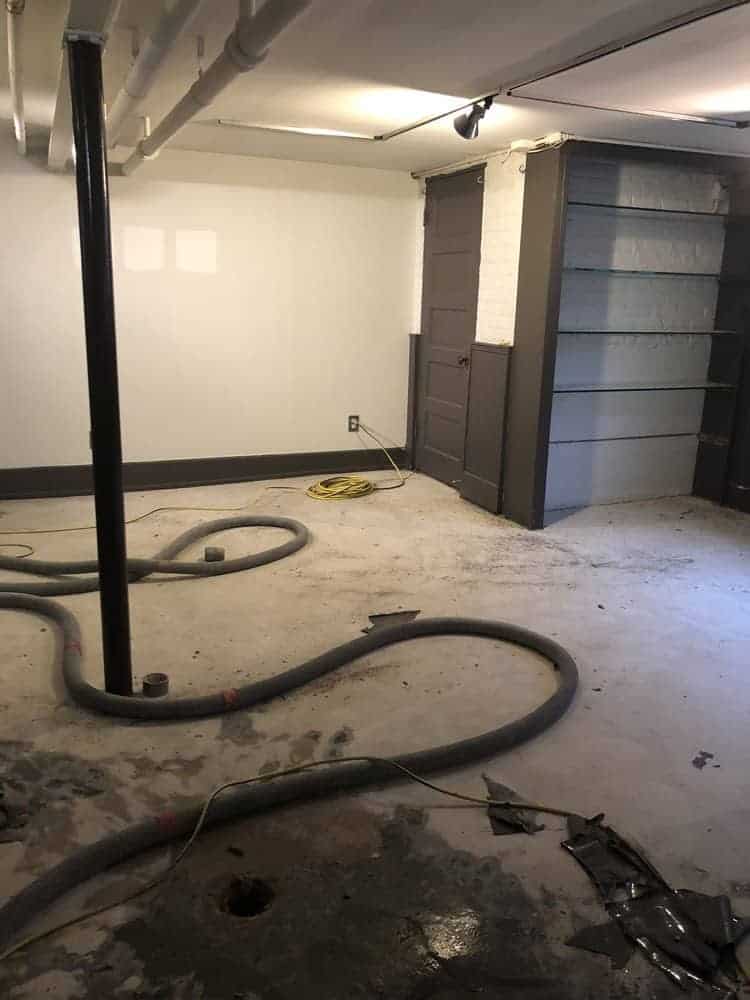
Step #1: Paint scraped off. They strip the floor down to “pure” concrete which is as difficult as it sounds when talking about years and layers of other paint on top of it.
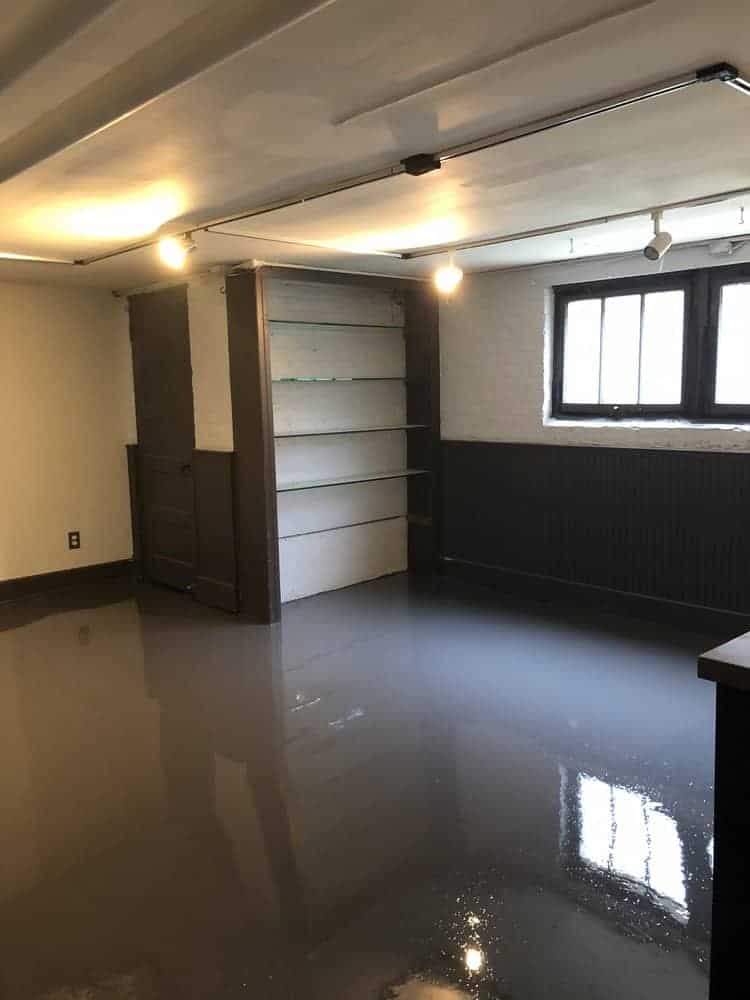
Step #2: Vapor barrier and base coat down.
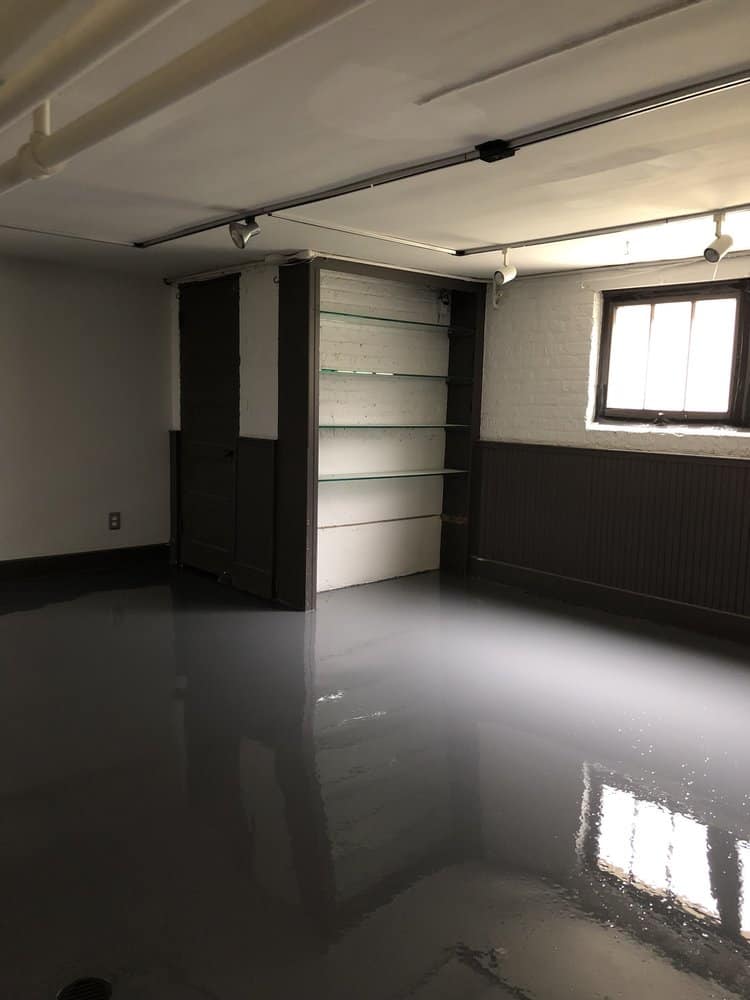
Step #3 & #4: Two more coats and the top coat which creates a matte finish.
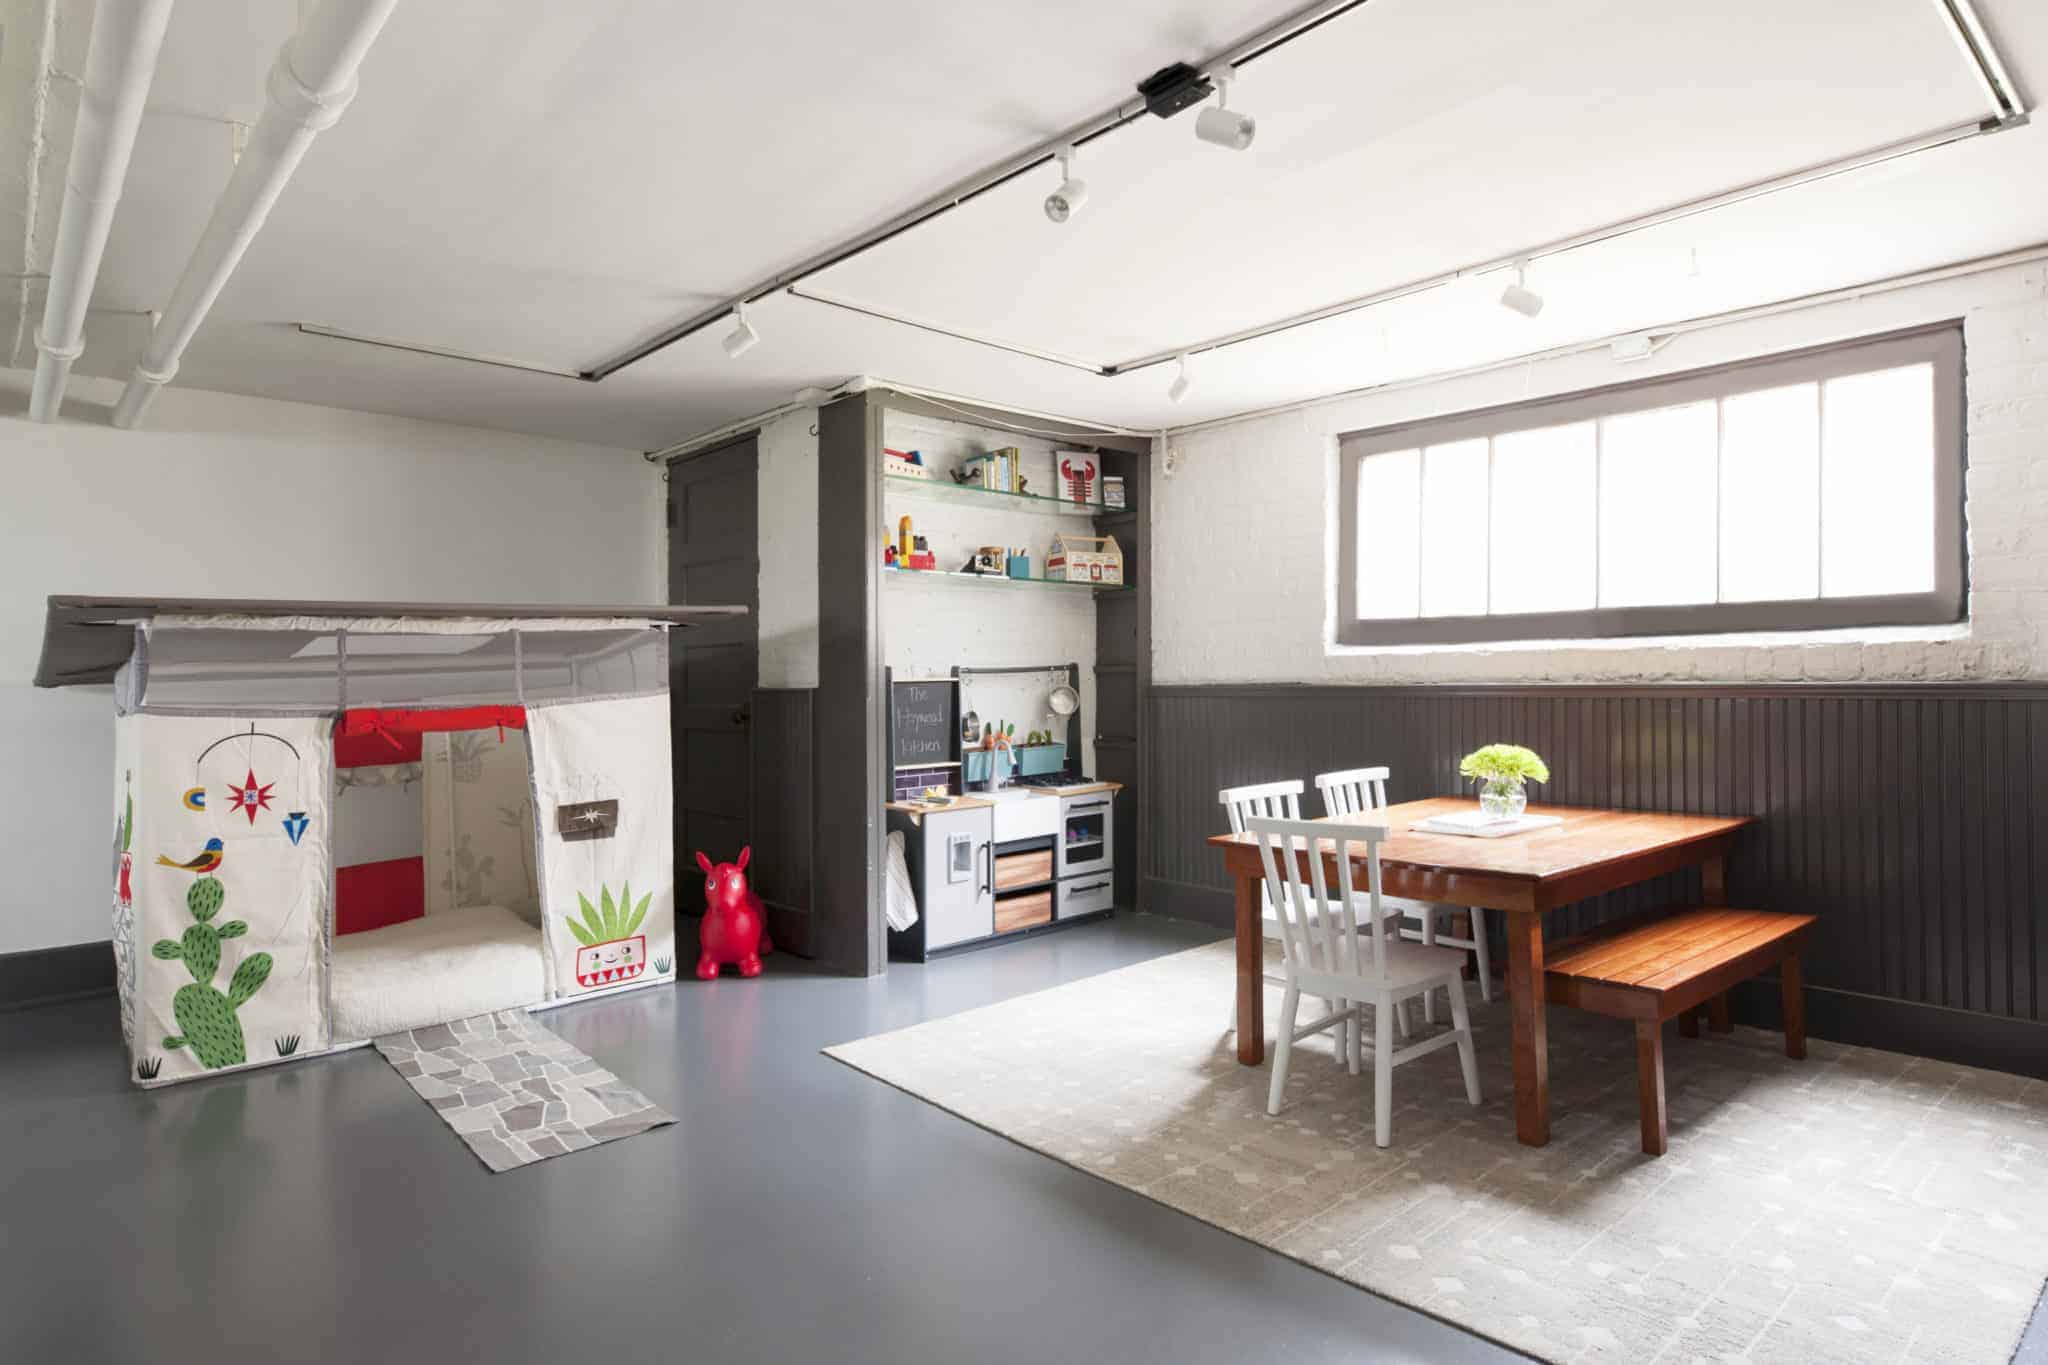
The finished product!
More of the other spaces in the playroom to come! Keep an eye out for those posts coming soon:)